|
How
to repair a stock crack.
Written by martin08 ("Matt") of the
forums
Disclaimer!!! Normally, I don't mess with restoration much. But I will
be shooting this one when it is done, a Reising M50 submachine gun,
once the final NFA approval arrives. Meanwhile, the registered owner
has allowed me to take possession of the stock for the necessary repair
work for a crack in the wrist. (sometimes this is allowed to preserve
the rifles so it may still be fired and used.)
My goal was to preserve the outward appearance of the stock (it's
really quite nice), without utilizing crosspins, but performing a
strong and permanent repair which would allow me to fire the gun
without doing further damage.
I had never attempted a stock repair of this magnitude, but I was
confident that I could gather the proper materials to have on hand for
performing the time sensitive task.
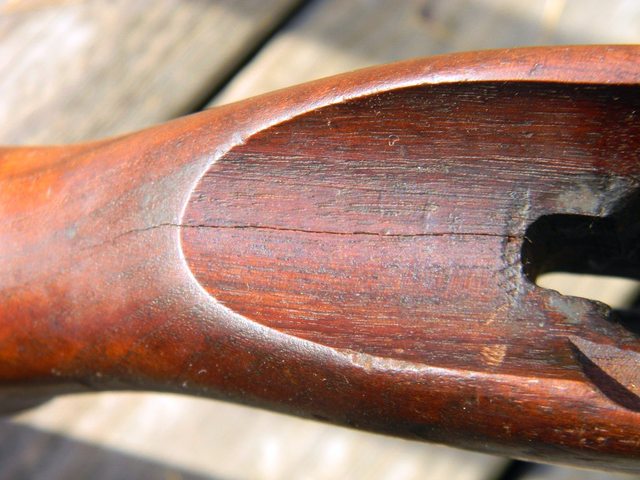
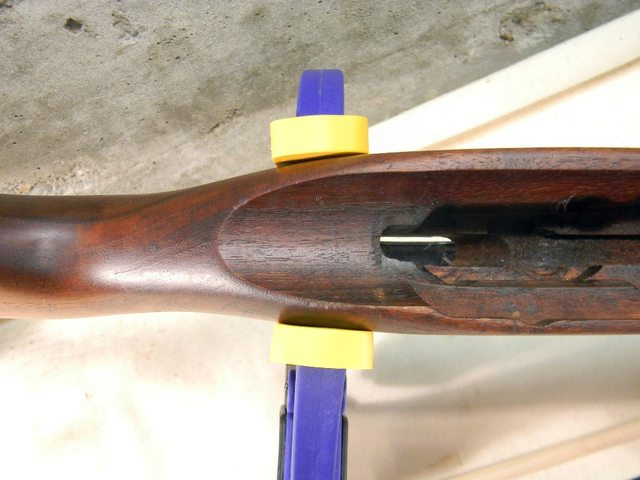
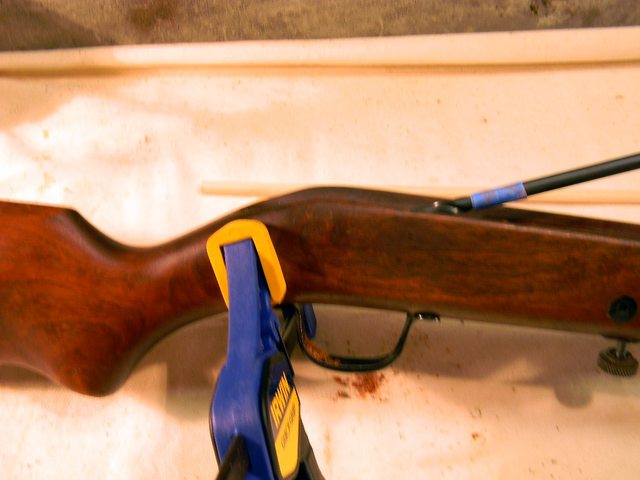
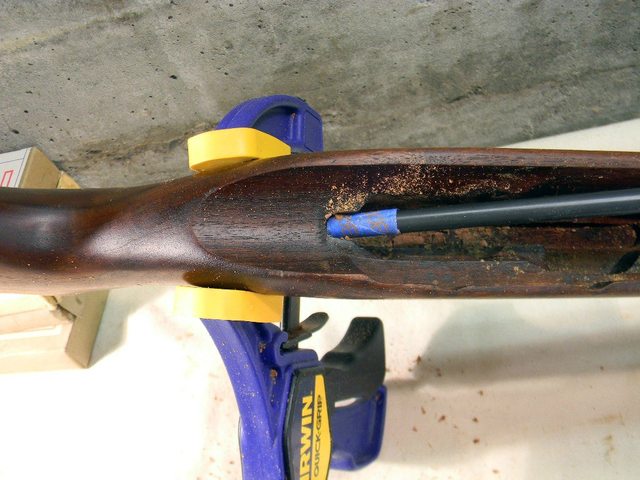
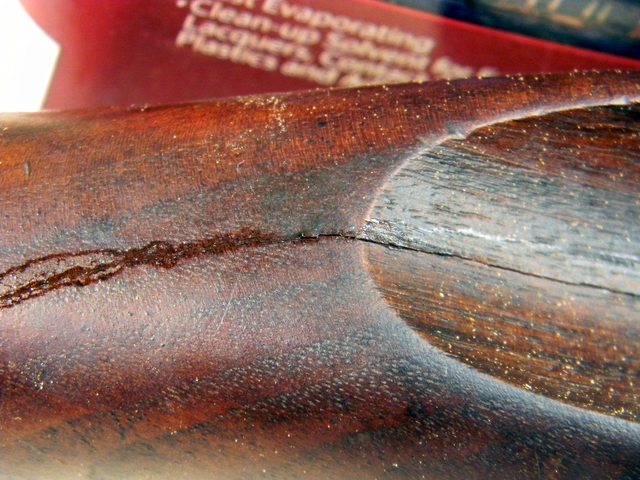
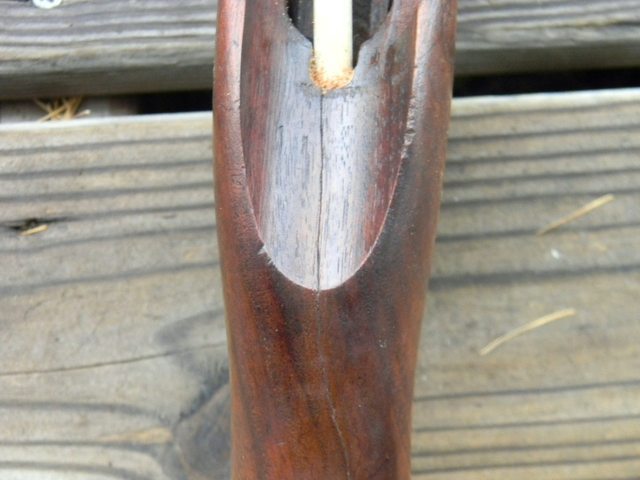
Following are a few pics of the stock/crack before repair. It appeared
on top of the stock wrist only, about 3-3/4" in length. And although
there is a shadow for the stock inletting picture, the crack protruded
downward approximately 1" at the rearmost inletting.


The Repair
To begin, I went ahead with an epoxy/dowel repair, learning as I went
along. I did make what will be a very serviceable repair, but also made
a critical error which will be explained later.
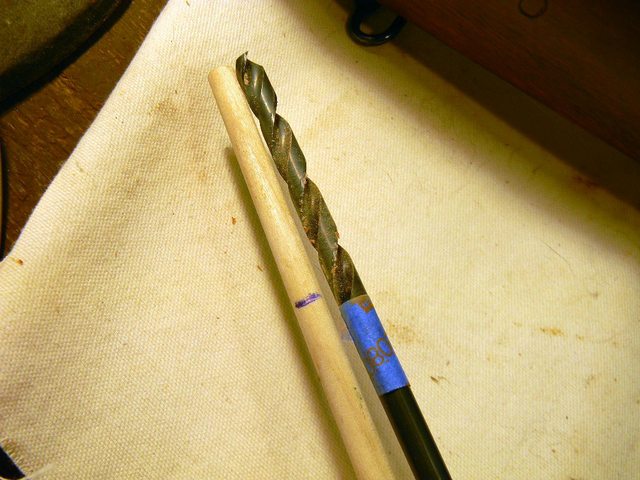
1. I selected a 5/16" dowel, and purchased a decent wood clamp and long
shank 5/16" drill bit.

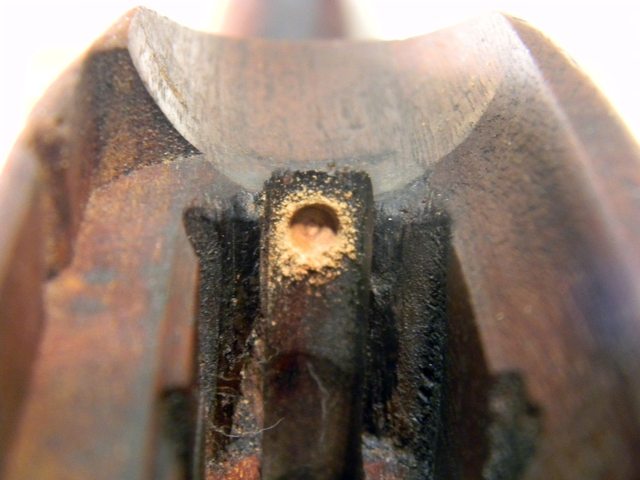
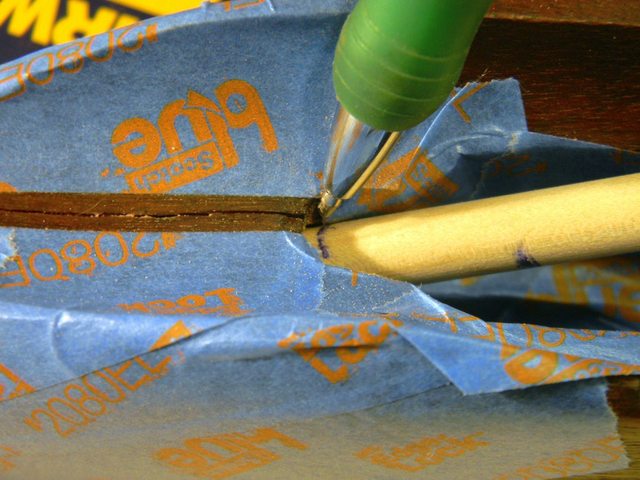
2. With the stock clamped to close the crack, I began with a smaller
3/16" bit which enabled me to better locate a starter hole for the
larger bit.
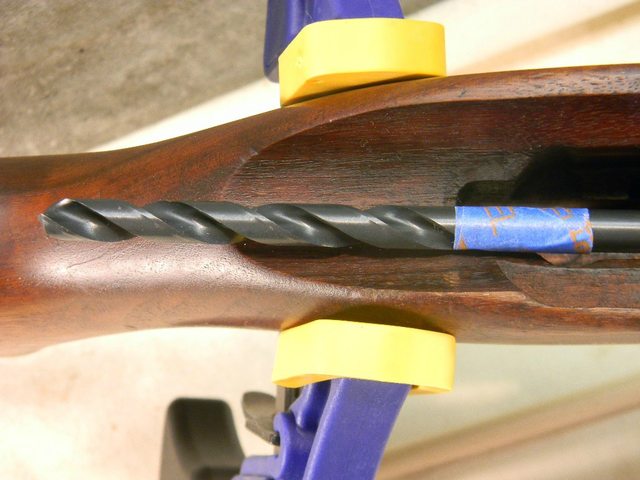
3. To ensure proper depth for drilling, the tool bit was placed along
side for the length of the crack, and marked with a piece of tape. As
the crack emanated from the center of the stock at the rearmost
inletting, and traveled rearward and slightly to the right, I needed to
use my best judgement when drilling to follow the wrist and crack
angles, and without breaching the exterior of the stock. Drilling was
performed with the clamp in place, and to the depth which was marked on
the drill bit. Compressed air evacuated the sawdust from the hole.
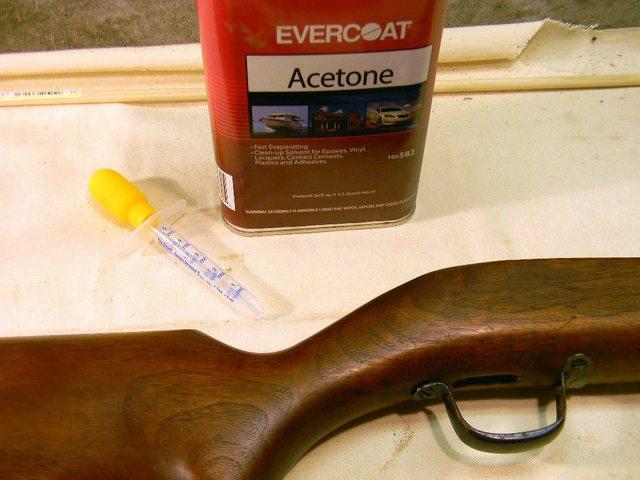
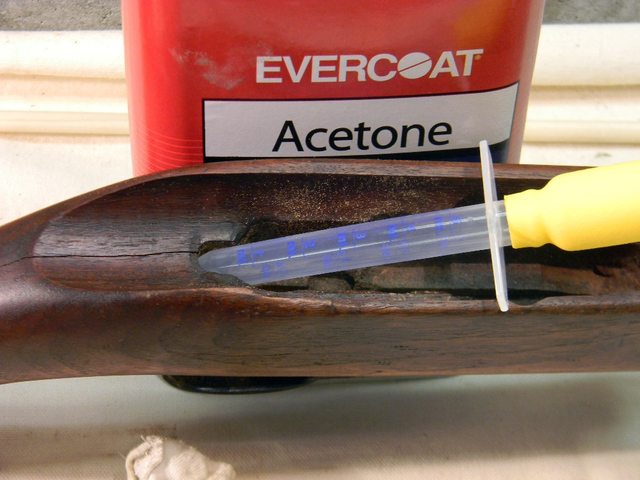
4. The crack could then be prepped for optimal adhesion of the epoxy by
cleaning any interior oils/grime with acetone. With the clamp released,
I used a medicine syringe for application, and then an empty syringe to
force air into the crack for drying. The application of fast
evaporating acetone revealed the full length of the crack, as it stayed
wet for a little longer inside the crack.
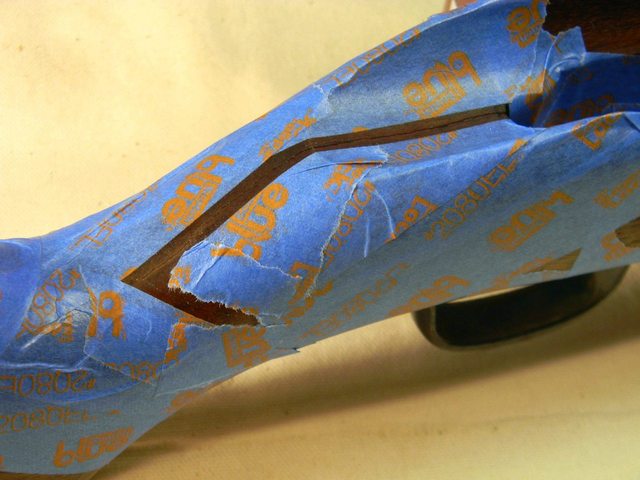
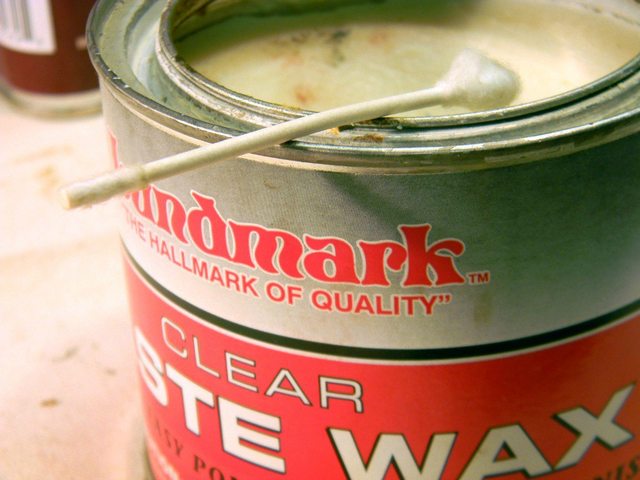
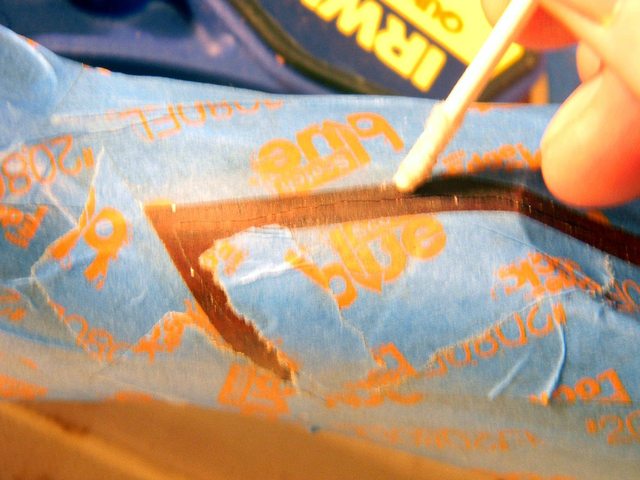
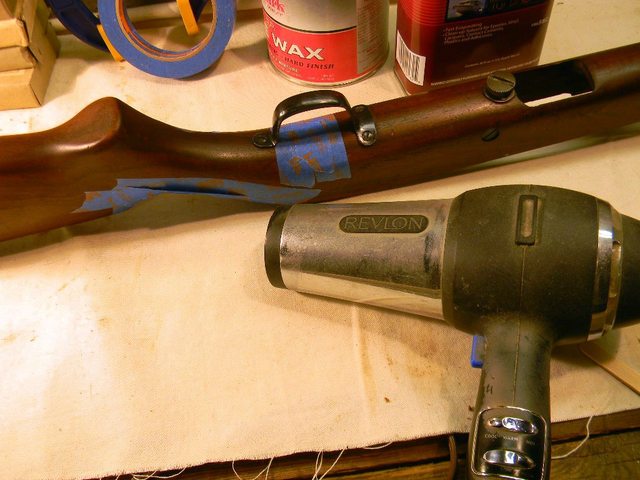
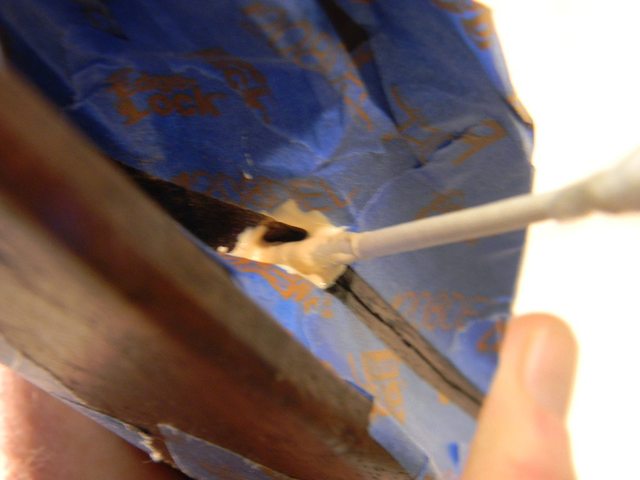
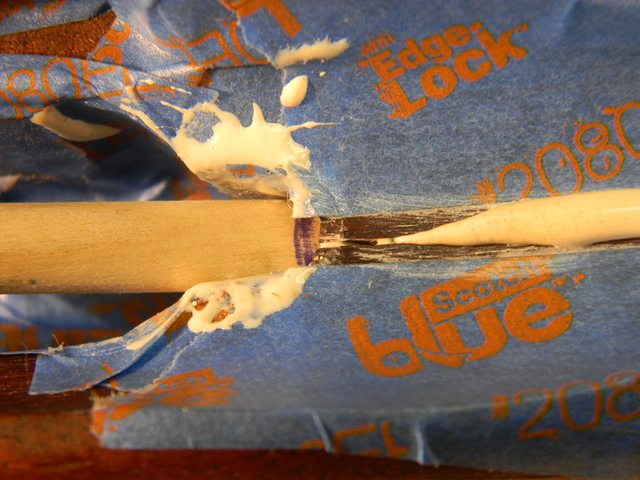
5. The stock could then be prepped to prevent a mess. I used general
blue painter's tape to mask around the crack. I applied a coat of paste
wax to the exposed area, using a q-tip with the cotton swab removed, so
no excess paste wax would be forced into the crack. The dowel was
inserted fully (dry), marked and removed to ensure the proper depth of
insertion, and corresponded closely to the drill bit depth.
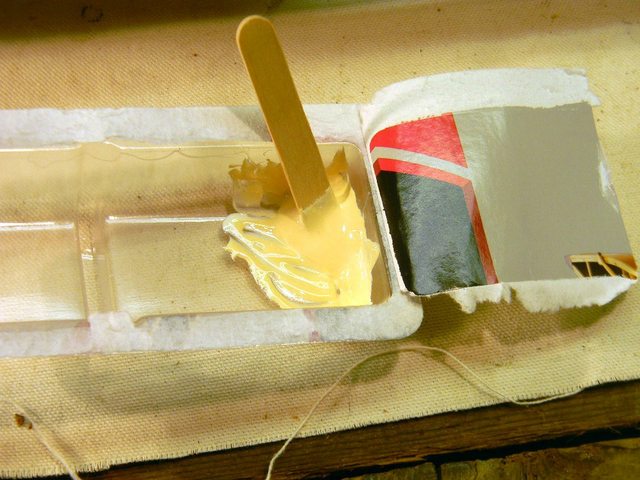
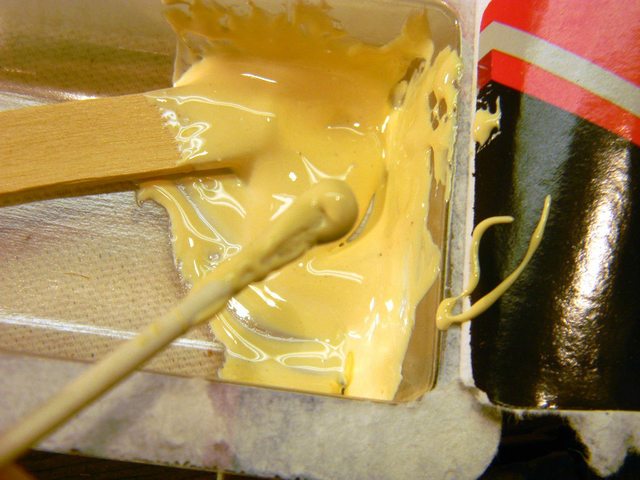
5. The epoxy was then mixed. I chose a marine epoxy with a 60 min. set
up. This allowed for more working time and better flow when filling the
crack. A longer curing time also produces a stronger compound. An epoxy
with a short set up time will begin curing to quickly to properly flow.
The stock was then 'warmed up' with a hair drier to also aid with the
epoxy flow. I pulled the cotton swab off another q-tip to use as an
applicator to fill into the hole.
The amount of epoxy which I used would be very difficult to measure,
such as in milliliters. But suffice to say that the total glob was just
about the size of a small grape.
Here
is where I made a rookie mistake which affected aesthetics. I had
drilled a 5/16" hole and used a 5/16" dowel. I neglected to account for
the thin film of epoxy which would surround the dowel when inserted,
and upon reapplying the clamp, the crack would not fully close. Next
time, I will lightly sand the dowel to diminish the diameter - just
enough so that clamping would close the crack more tightly.
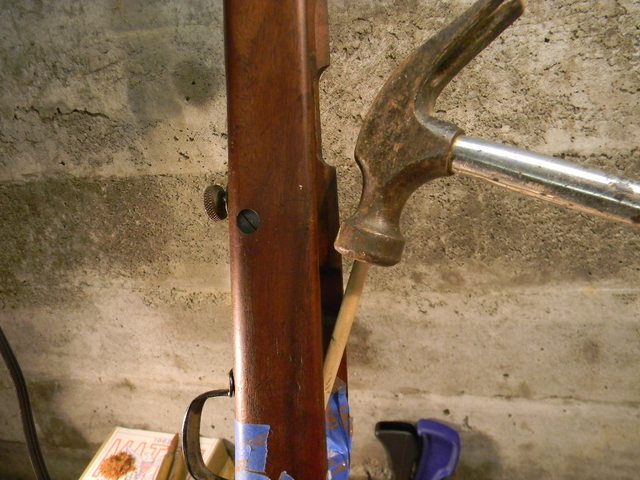
6. The dowel was then inserted, acting as a piston and forcing the
epoxy to evacuate the drilled hole, and flow into the crack. As the
epoxy is somewhat thick, it built up a hydraulic pressure, and the
final 1/2" of dowel insertion needed some assistance with a hammer,
stopping when it reached the depth mark on the dowel. The clamp was
then reapplied.
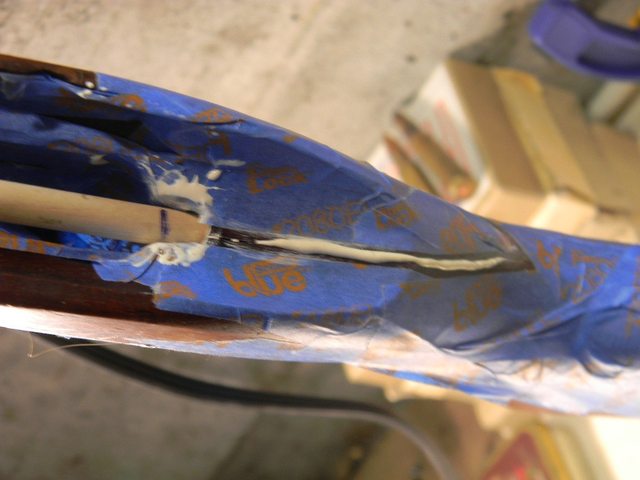
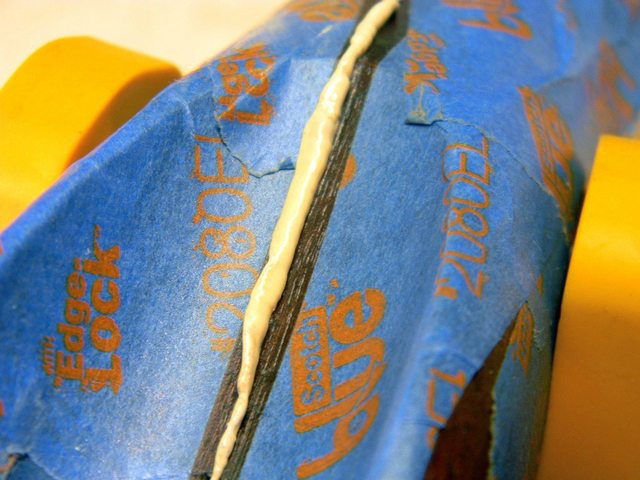
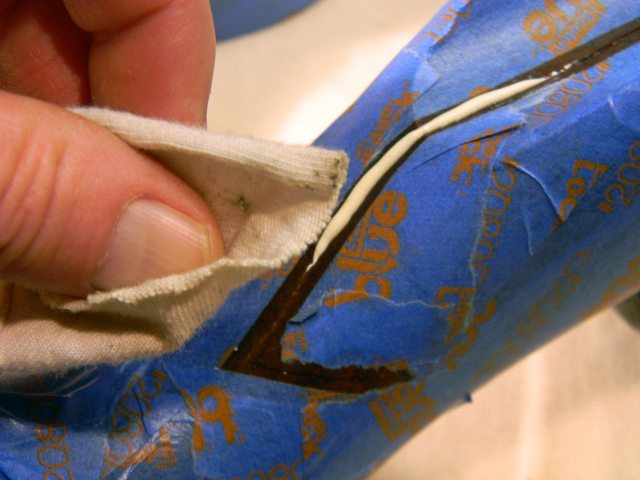
7. While the excess epoxy was oozing from the crack, I simply wiped it
away with a cloth, and kept wiping for about twenty minutes, until it
stopped oozing. Then, whether it made a difference or not, I just
rubbed some of the sawdust over the crack, penetrating only the
outermost exposed compound. The entire project was then allowed to rest
for 2-3 hours
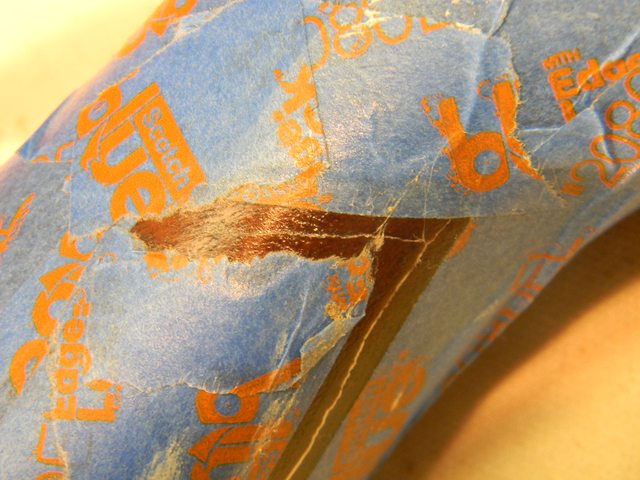
8. After allowing plenty of time for the epoxy to initially set, the
masking tape was removed. The acetone came in handy again to soften and
remove an epoxy finger print smudge which I didn't see earlier. A small
amount of the epoxy which worked its way under the tape near the
insertion point was CAREFULLY chipped away with the edge of my pocket
knife. Walnut stain was then applied to the exposed epoxy/sawdust
layer. And the then the project was allowed 24 hrs to fully cure, while
still clamped.
Had I slightly diminished the diameter of the dowel before insertion, I
would bet that the repair would be barely visible. But as it stands,
the repair is done, and likely quite strong. I will need to mate the
submachine gun action with the stock to perform enough relief by
removing just enough wood at the rear stock inletting, so that the rear
trigger housing lug will not contact the stock when firing and cause
another crack.
9. The clamp was removed, and the entire area buffed with a cloth.
Again, not perfect, but plenty serviceable now.
Thanks for looking on!

An excellent article written by martin08 ("Matt") of the
forums https://russian-mosin-nagant-forum.com
|


